Plumbing Maintenance

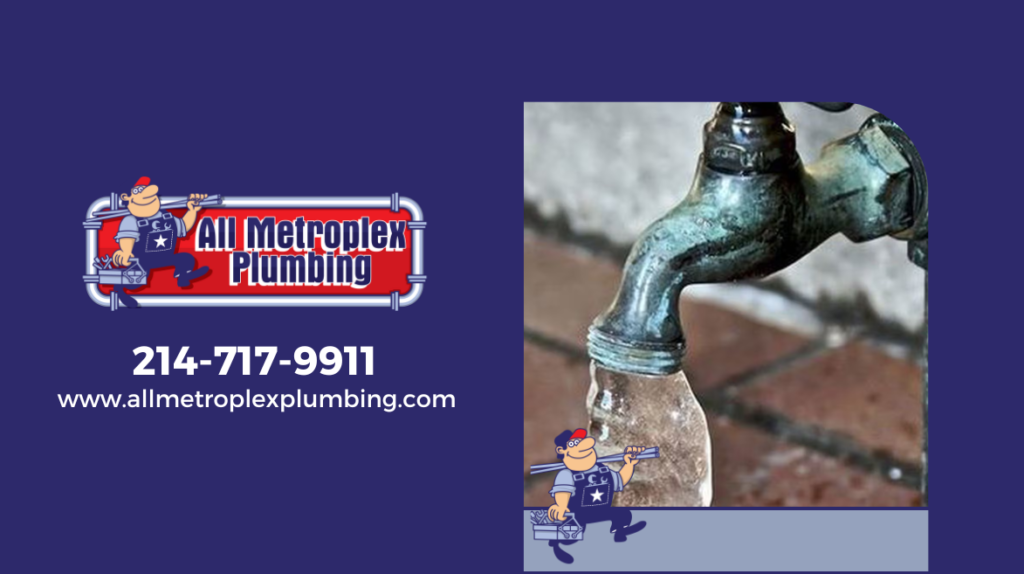
With the onset of the intense cold week, it’s crucial for homeowners in the Lewisville, Texas area to be prepared to tackle the challenge of frozen pipes. In this article, we will provide a step-by-step guide on how to avoid this common issue during the winter.
1. Ensure Proper Insulation:
Check insulation in the basement, attic, and outer walls of your home.
Add additional insulation in areas prone to heat loss, such as spaces around windows and doors.
2. Protect the Exteriors:
Disconnect and store garden hoses.
Shut off exterior water valves and drain any excess water in the pipes.
3. Maintain a Light Drip:
Allow faucets to drip slightly during cold nights to prevent ice buildup in the pipes.
4. Insulate Exposed Pipes:
Use insulation sleeves on exterior pipes or in unheated areas.
Ensure pipes in the garage or basement are well insulated.
5. Control Indoor Temperature:
Avoid letting the indoor temperature drop too low overnight.
Open cabinet doors under the sink to allow heat to reach the pipes.
6. Act Swiftly in Extreme Cold:
If extremely low temperatures are forecasted, consider letting faucets run a bit.
Apply additional heat to vulnerable areas, such as the basement.
7. Schedule Preventive Maintenance:
Schedule a plumbing check-up before winter to identify potential issues.
Address any leaks or problems detected during the inspection.
Remember, prevention is key when it comes to frozen pipes. By following these tips, you can protect your home and avoid costly inconveniences. If you encounter issues with frozen pipes, don’t hesitate to contact All Metroplex Plumbing for professional assistance.
Keep your home warm and safe during the winter season in Texas! If you have more questions or need help, we’re here for you!

Traditional water service line replacement involves extensive excavation, turning your property into a construction zone. However, with the advent of trenchless technology, All Metroplex Plumbing brings you a revolutionary approach that eliminates the drawbacks of the traditional trench-digging method.
Preservation of Property Aesthetics:
Trenchless water service line replacement is a non-invasive solution that allows us to address issues without the need for extensive digging. Your landscape, driveway, and other outdoor elements remain untouched, preserving the beauty of your property. No more worrying about the aftermath of construction disrupting your surroundings.
Minimal Disruption:
One of the most significant advantages of trenchless technology is the minimal disruption it causes. Traditional methods could result in torn-up landscapes and lengthy disruptions. Trenchless water service line replacement ensures that your daily routine remains undisturbed, and you can continue with your activities without the inconvenience of a construction site in your yard.
Time-Efficiency:
Time is of the essence, especially when it comes to plumbing issues. Trenchless solutions significantly reduce the time required for water service line replacement. Unlike traditional methods that can take days or even weeks, our advanced techniques allow us to complete the replacement process efficiently, saving you time and minimizing the inconvenience associated with prolonged construction.
Cost-Effectiveness:
The financial aspect is crucial when considering any home improvement project. Trenchless water service line replacement proves to be cost-effective in several ways. The reduction in labor and restoration work contributes to lower overall costs. All Metroplex Plumbing is committed to providing competitive pricing for our high-quality trenchless solutions, ensuring that you receive top-notch service without breaking the bank.
Contact All Metroplex Plumbing Today!
Are you ready to embrace the future of plumbing solutions? Contact Carlos Moreno, the dedicated owner of All Metroplex Plumbing. We proudly serve Lewisville and the surrounding areas in Texas, bringing the convenience and efficiency of trenchless water service line replacement to your doorstep.
Call Carlos Moreno at 214-717-9911 or visit our website to schedule your consultation. Experience the transformative benefits of trenchless technology with All Metroplex Plumbing and upgrade your plumbing system without the hassle. Embrace the future of plumbing with us!
With the onset of chilly weather, it’s crucial to prepare our homes to face the winter challenges. As a plumber with years of experience in the area, I want to share some valuable tips to ensure your plumbing system runs smoothly during the colder months.
1. Protect Your Exterior Pipes:
Exterior pipes are particularly susceptible to low temperatures. Make sure to disconnect and store garden hoses. Additionally, consider wrapping exterior pipes with insulation to prevent freezing, which can result in costly repairs.
2. Check and Repair Leaks:
Leaks can be a nuisance during any season, but in winter, they can become an even greater challenge. Before temperatures drop further, inspect all water valves, faucets, and pipes for potential leaks. Fixing them now can prevent major issues when the weather becomes more extreme.
3. Ensure Proper Insulation:
Adequate insulation not only helps keep your home warm but also protects your pipes from freezing temperatures. Ensure that susceptible areas, such as the basement and attic, are properly insulated to ward off freezing problems.
4. Drain Your Outdoor Systems:
Before the first frost hits, drain any outdoor systems that may freeze, such as irrigation systems. This will help prevent damage to pipes and components, ensuring optimal performance when you need them again in the spring.
5. Maintain a Slight Faucet Drip:
On particularly cold nights, allow faucets to drip slightly. This can prevent the accumulation of ice in pipes, reducing the risk of freezing.
Preparing your home for winter will not only save you money on repairs but also ensure your comfort during the colder months. It’s always advisable to seek professional advice. If you have any questions or issues, feel free to contact us! We’re here to help you keep your home warm and cozy throughout the winter season.

Living in Lewisville, Texas, presents a unique set of challenges for homeowners, especially when it comes to maintaining a functional and reliable plumbing system. With fluctuating temperatures and occasional extreme weather conditions, ensuring that your pipes, fixtures, and appliances are in top shape is crucial. Proactive plumbing maintenance is the key to safeguarding your property and saving on potential costly repairs down the line.
Importance of Proactive Plumbing Maintenance:
- Protecting Against Winter Woes: Insulate Your Pipes and Prevent Freezing
- Ensuring Efficient Water Heater Performance: Tips for Annual Inspections and Maintenance
- Addressing Common Leak Issues: Detecting and Fixing Leaks Early On
- Maintaining Healthy Drains: The Role of Regular Drain Cleaning and Inspection
- Enhancing Longevity of Fixtures: Tips for Proper Care of Faucets, Showers, and Toilets
Effective Strategies for Plumbing Maintenance:
- Setting Up a Seasonal Inspection Schedule: The Benefits of Regular Professional Assessments
- DIY Tips for Homeowners: Simple Steps to Check for Leaks and Address Minor Issues
- Understanding Water Pressure: How to Monitor and Adjust Water Pressure Levels for Optimal Performance
- Implementing Water-Saving Practices: Reducing Water Waste and Lowering Utility Bills
- Educating Family Members: The Importance of Responsible Water Usage and Plumbing Awareness.
Investing time and resources into proactive plumbing maintenance not only ensures a smoothly functioning plumbing system but also helps you avoid unexpected and costly repairs. By staying ahead of potential issues and implementing effective strategies, you can protect your Lewisville home and maintain peace of mind. Prioritize regular inspections, timely repairs, and responsible water usage to enjoy a well-maintained plumbing system that stands the test of time.
Ready to safeguard your home with professional plumbing services in Lewisville, Texas? Contact All Metroplex Plumbing today for expert guidance and assistance. Click Contact page to get in touch with our team and schedule a consultation.
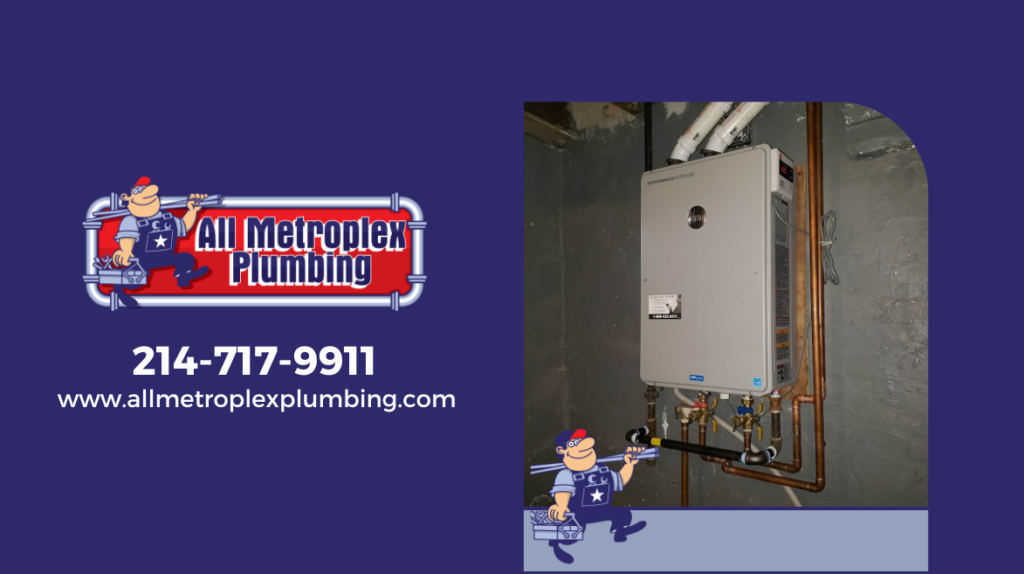
Is your water heater not performing as it used to? Are you experiencing lukewarm showers and struggling with inconsistent water temperatures? Don’t worry, you’re not alone! Many homeowners overlook a crucial aspect of home maintenance – the water heater. At All Metroplex Plumbing, we’re here to provide you with the ultimate guide to water heater maintenance, specifically focusing on tankless water heaters.
Why Water Heater Maintenance Matters
Did you know that the minerals present in your water can gradually lead to the buildup of hard water deposits in your tankless water heater? Over time, this buildup can affect the efficiency and performance of your heater, leading to higher energy bills and a shorter lifespan for the appliance. That’s where regular maintenance comes into play.
The Power of a Water Heater Flush
One of the most effective ways to maintain your tankless water heater is by performing a water heater flush, as recommended by manufacturers. This simple yet powerful process involves clearing out the mineral buildup that accumulates within the coils and the combustion chamber. By doing this, you can ensure that your heater operates at its best, providing you with consistent hot water and energy savings.
DIY Water Heater Flush: Steps and Tips
Performing a water heater flush might sound intimidating, but it’s actually a straightforward process. Here’s a quick rundown of what you’ll need and the steps involved:
Materials Needed:
White vinegar
Water
Pump
Steps:
Mix one gallon of white vinegar with two gallons of water to create a flushing solution.
Attach a pump to help circulate the solution through the water heater.
Open the valve to allow the solution to flow through the heater’s coils and combustion chamber.
Let the solution circulate for about 20 to 30 minutes, allowing it to dissolve mineral buildup.
Once done, close the valve, remove the pump, and drain the remaining solution.
The Result: Improved Efficiency and Longevity
By dedicating just a little time once a year to perform a water heater flush, you can enjoy several benefits. Not only will your tankless water heater operate more efficiently, but you’ll also extend its lifespan, saving you money in the long run. Plus, you’ll bid farewell to lukewarm showers and welcome the comfort of consistent hot water.
At All Metroplex Plumbing, we’re dedicated to helping you make the most out of your appliances. Regular water heater maintenance is a small investment that yields significant returns in terms of performance and longevity. If you’re unsure about performing a flush yourself, don’t hesitate to contact our experts for professional assistance. Keep your water heater in top shape – your future self will thank you!

Detecting Toilet Water Leaks: A Step-by-Step Guide
Step 1: Checking the Water Meter
To initiate your investigation, start by turning off all water-using appliances and fixtures in your home, such as faucets, showers, and washing machines. Begin by locating your water meter and recording the current reading. After allowing about an hour to pass without any water usage, check the meter again. If you observe an increase in the reading, it could indicate a potential leak within your plumbing system.
Step 2: Conducting Visual Inspection
Engage in a thorough visual inspection of the area around your toilet. Be vigilant for visible water indicators, like puddles, damp spots on the floor, or moisture on walls. Examine the toilet’s base, floor connection, and tank for any potential signs of leakage.
Step 3: Utilizing the Food Coloring Test
Unveil the mysteries of toilet leaks through a simple yet effective technique: the food coloring test. Unlock the secrets of your toilet tank by adding a few drops of food coloring to the water within. Wait patiently for 15 to 20 minutes, refraining from flushing. Should you spot colored water in the toilet bowl, this could signal a leak between the tank and the bowl.
Step 4: Listening for Clues
Remember, even the quietest symphonies can carry crucial information. Sometimes, a stealthy leaking toilet may emit a faint hissing sound, a consequence of constant water flow into the bowl. Amid the tranquility of your bathroom, tune in to the inner workings of the toilet tank. An unusual melody might indicate a concealed leak.
Step 5: The Role of Toilet Dye Tablets
Toilet dye tablets, available at most hardware stores, can offer valuable insights. Introduce a single tablet into the toilet tank and allow approximately 30 minutes for its effects to unfold. If the toilet bowl displays a splash of color, it’s likely a sign of a leak.
Step 6: Seeking Professional Insight
Should you adeptly navigate the preceding steps but still grapple with an elusive leak, it’s time to call in the experts. Plumbing professionals possess the requisite tools and knowledge to pinpoint and rectify leaks accurately, ensuring the efficiency of your plumbing system remains uncompromised.


